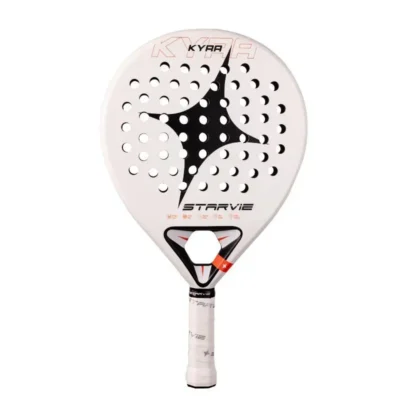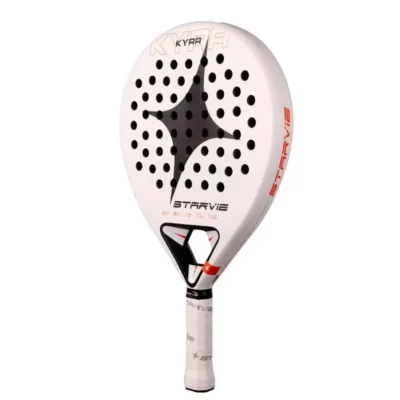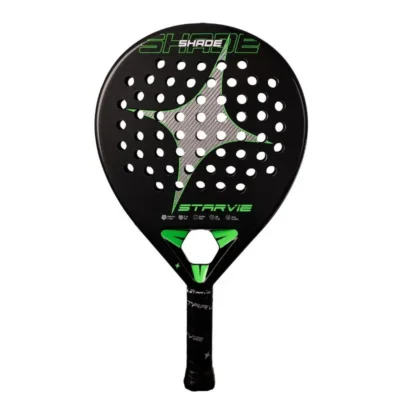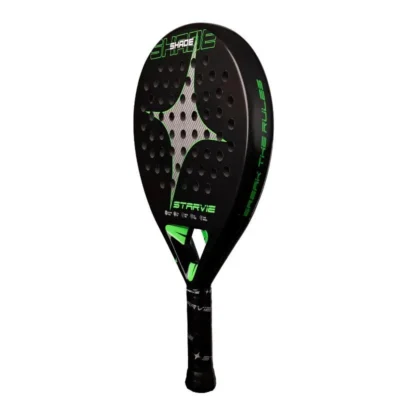
A new racket can pick up its first chip far sooner than you expect. When you install a padel racket protector correctly, you add a practical layer between the top of the frame and the glass, fencing, court surface and those accidental clashes that happen in fast points. It takes only a few minutes, but the difference in keeping your racket tidy can last for months.
A protector will not make a racket indestructible, and it cannot repair a crack or internal damage. What it can do is reduce cosmetic scuffs and protect the most exposed edge of the frame. For players who want to keep a premium racket in good condition, it is one of the simplest accessories to add.
Why fit a padel racket protector?
The upper edge of a padel racket takes plenty of punishment. You may catch the glass while defending, scrape the floor on a low ball, or clip your partner’s racket when both of you move for the middle. Even controlled players have these moments. Aggressive players who defend close to the back wall or attack overhead balls may have them more often.
Most protectors are made from adhesive tape with a durable outer surface. They absorb light impacts and rubbing before the paint or carbon layer on the frame does. They are particularly useful on rackets with exposed carbon or a gloss finish, where small marks are very visible.
There is a trade-off. A protector adds a few grams to the head of the racket, which can make it feel slightly more head-heavy. On a light, control-oriented racket, many players barely notice this. On an already head-heavy power racket, the extra weight may be noticeable during quick volleys or long matches. Choose a thin protector if you want protection with the smallest possible change in balance.
What you need before fitting it
You do not need a workshop or specialist tools. Have the protector ready, along with a clean microfibre cloth. A little rubbing alcohol or an alcohol-based cleaning wipe is useful for removing grease, dust and old adhesive residue. If your protector is wider than the top edge of your racket, keep a small pair of scissors nearby.
The most important part is a clean, dry frame. Sunscreen from your hands, dust from the court and moisture can all weaken the adhesive. Avoid fitting a protector immediately after playing in damp conditions. Let the racket return to room temperature and dry fully first.
If an old protector is already fitted, peel it away slowly rather than pulling sharply. Warm the adhesive gently with your hands if it feels stubborn, then clean off any residue before applying the replacement. Do not use harsh solvents or scrape the frame with a blade, as that can damage the finish you are trying to protect.
How to install a padel racket protector without bubbles
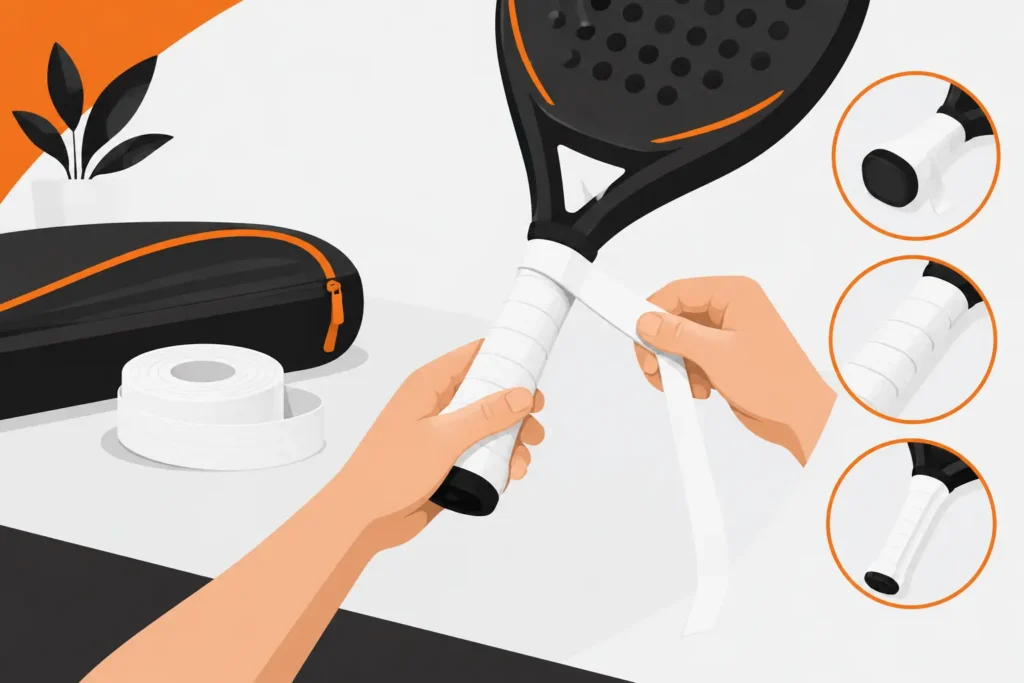
Start by placing the protector against the top of the frame without removing the backing. This quick test helps you find the centre and check whether its shape suits your racket. The protector should sit on the outer edge of the head, covering the area most likely to touch the wall or floor, without folding onto the face of the racket.
1. Clean and dry the frame
Wipe the top edge thoroughly with your alcohol wipe or lightly dampened cloth. Pay attention to the curved sections where dust can collect. Then use a dry part of the cloth and wait a minute or two. The frame must feel completely dry before you start.
2. Find the centre point
Locate the highest point of the racket head. On many round, teardrop and diamond rackets, this is easy to see by following the shape of the frame. Hold the protector in position and identify its middle too. Beginning in the centre gives you an even fit on both sides and prevents one end from running short.
Peel back only a small section of the backing paper from the middle. Do not remove the full backing at once. It is much easier to control the protector when the adhesive is exposed gradually.
3. Press from the middle outwards
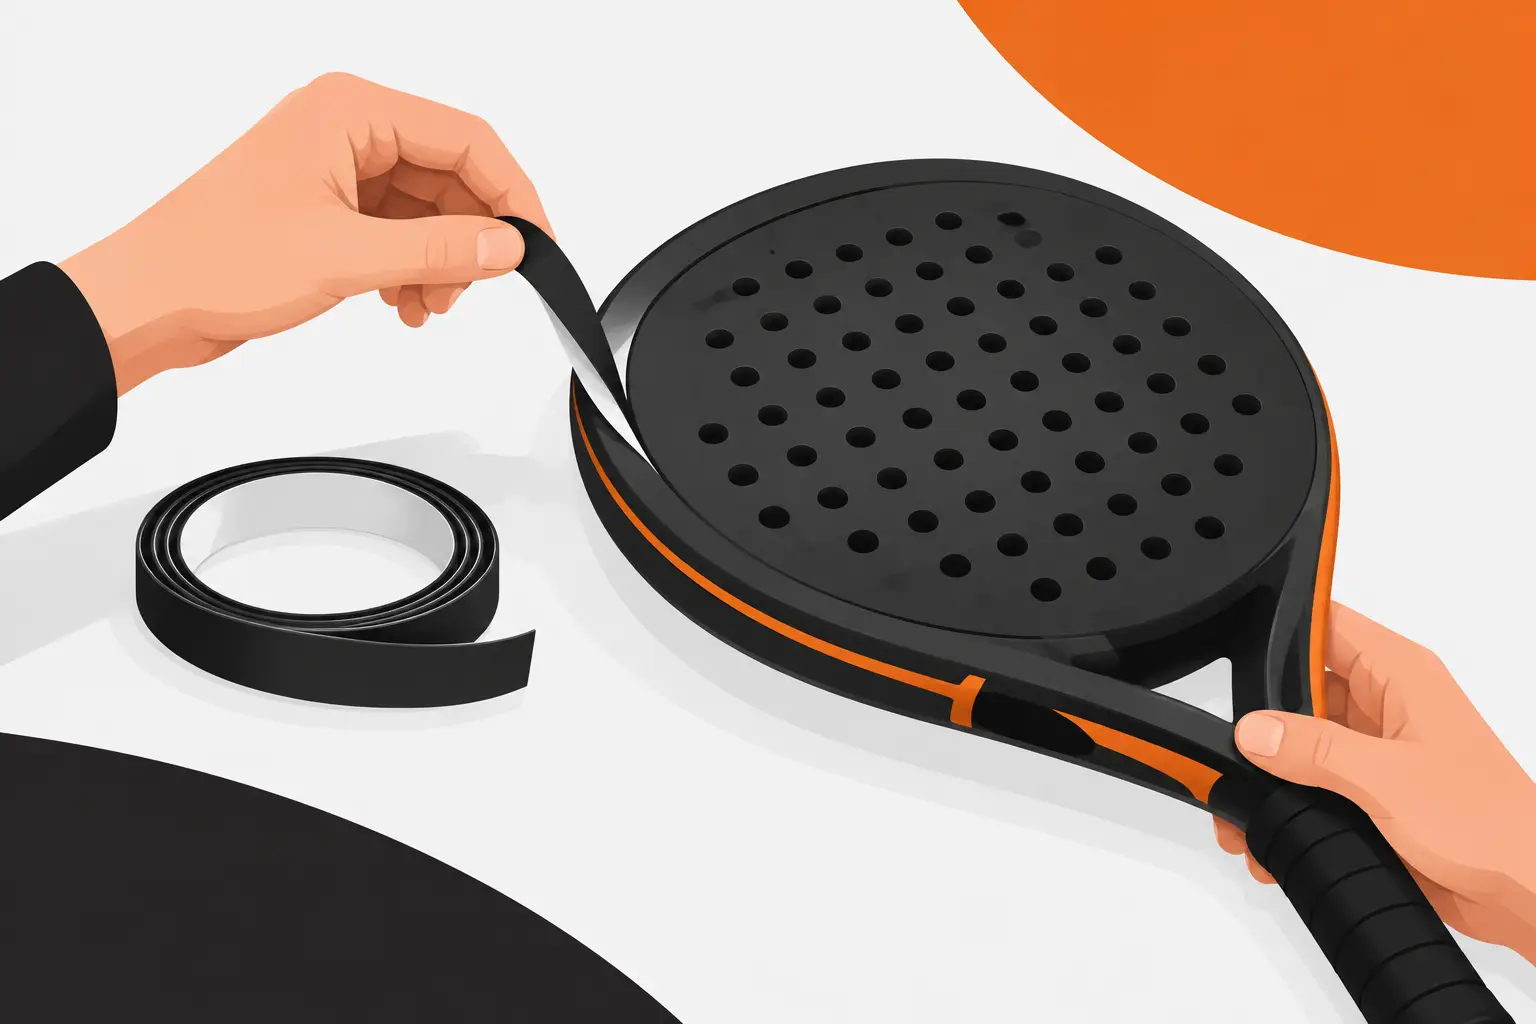
Stick the exposed middle section to the top of the frame. Use your thumb to press it down firmly, then work outwards a few centimetres at a time. As you move, peel away more backing and keep gentle tension on the protector. This helps it follow the curve without creasing.
Press from the centre of the strip towards each outer edge, not just straight down. That motion pushes trapped air out as you go. If you see a small bubble, lift that short section carefully and lay it down again. Trying to flatten a large bubble after the adhesive has fully settled rarely gives a neat result.
4. Shape the ends neatly
When you reach each end, make sure the protector finishes flat against the frame. If it overhangs, trim it carefully with scissors. Leave a small margin before the racket face and avoid cutting into the frame or the protector itself once it is fitted.
Some players wrap the ends further down the sides for extra coverage. This can work on a smooth, rounded frame, but do not force a wide protector around a sharp shape. Too much tension at the ends can cause lifting after a few sessions.
5. Set the adhesive before playing
Run your thumb along the full length of the protector once more, paying close attention to the ends. Leave the racket indoors for a few hours before your next match where possible. The adhesive bonds better when it has time to settle at a stable temperature.
Avoid leaving a newly protected racket in a cold car boot or direct sunlight. Extreme temperatures can affect the glue, especially in the first day after fitting.
Common fitting mistakes to avoid
The most common mistake is applying a protector over a dirty frame. It may appear secure at first, then lift at the corners after one or two matches. Cleaning the racket properly takes less time than replacing a badly fitted strip.
Another mistake is pulling the protector too tightly around the curve. A little tension is helpful, but stretching the material changes its shape and puts constant pressure on the adhesive. Keep it smooth rather than taut.
It is also worth checking the width before you buy. A very wide protector can cover part of the racket face, interfere with the finish or look untidy on a narrow frame. A narrow strip offers lighter protection and less added weight, while a wider model provides more coverage for players who regularly contact the glass. Neither option is automatically better – it depends on your racket shape and how you play.
Finally, do not cover an existing crack with a protector and assume the problem has gone away. A crack can spread internally, particularly after repeated impacts. If your racket sounds different, feels unusually soft or shows a visible split, stop using it until you have checked the damage properly.
When should you replace it?
Check your protector every few sessions. Replace it when the surface is badly worn through, when the ends start lifting, or after a heavy impact that has visibly damaged the strip. A worn protector has done its job, but it cannot offer the same defence once the protective layer is gone.
How often you replace it depends on your playing frequency and court habits. A recreational player may get a whole season from one. Players on court several times a week, particularly those who defend hard against glass, may need a fresh protector much sooner.
When choosing your next one, match it to your priorities. Go thin and light if racket manoeuvrability matters most. Choose fuller coverage if keeping the frame protected is your main concern. With recognised racket brands and playing styles varying so much, the best accessory is the one that supports the feel you already enjoy.
A cleanly fitted protector will never win the point for you, but it can make you less hesitant when you have to chase a difficult ball near the glass. Fit it carefully, give it time to bond, then get back on court and play with confidence.